How to Start a Magento 2 E-Commerce Store in 10 Easy Steps (2019)
E-commerce business is growing day by day. Many merchants are struggling to start their E-commerce Store in the right way. Starting an E-commerce Store require hard work, attention and many steps. Choosing the right platform is very important at this stage. Whether you are planning to sell only a few products or thousands of products you need a very high scalable, SEO friendly and easy to maintain a platform where you can add products, create promotions, manage orders and make some money.
Magento 2 is one of the best platform available as free to start your online store. With the launch of Magento 2.0, it has gained more popularity in the market compared to other available platforms.
To run a Magento 2 store you need to setup it in the right way. Many developers or merchants are putting it off because they are afraid they will mess it up. If you are one of them and thinking about how to start a Magento 2 E-commerce store in the right way? This post is for you.
To simplify the process, we have put together a detailed step by step guide on starting a Magento 2 E-commerce Store. This step by step guide is very easy to follow. However, if you need a hand, our team can help you set up your Magento 2 E-commerce store for free.
What Do You Need to Get Started With Your Magento 2 E-Commerce Store
There are five things you will need to start creating a Magento 2 Store.
- Product Idea to Sell Online
- Good Domain Name
- Best Hosting Server
- Magento 2 Setup
- Paypal Account
Yes, these five things you only need to start your first E-Commerce Store with Magento 2 Platform.
In this tutorial, we will cover:
- How to Choose Best Domain Name and Register it
- How to Choose Best Hosting Server
- How to Install Magento 2 on Server
- How to Setup Your Store Emails
- How to Setup Product Catalog
- How to Configure Shipping Method
- How to Configure Payment Method
- How to Setup Google Analytics
- How to Setup Promotions
- How to Manage Orders
- How to Change look and feel of your store
Step 1: How to Choose Best Domain Name and Register it
As we all know the good domain is necessary to start an online business. Choosing the right domain name for your e-commerce site is very crucial.
When you decide domain name keep these three things in mind that domain name should be short, memorable and contains the keyword that targets the right audience for your business. There are many good sites like https://www.namemesh.com/ and https://domainwheel.com/ where you can enter a keyword and get some suggestions.
You can register a domain name for just $15.95 when you choose a hosting plan on siteground.com. We will explain in the next step how you can buy domain name along with hosting in pretty fair price on siteground.com
Step 2: How to Choose Best Hosting Server
To run your E-commerce website 24X7 without any interruption you must need faster, scalable and Magento 2 optimized hosting server. Thankfully, Siteground.com, One of the trusted hosting provider offering hosting service at just $3.95/month. Yes, you read it right, just $3.95/month. Generally, the price starts at $11.95 but when you purchase by clicking this link you will get 60% off.
To get started just go to siteground.com by clicking this link. There are three different plans available StartUp, GrowBig and GoGeek. It is recommended to choose a StartUp plan for those who are new to E-commerce business and starting their first E-commerce site online. Later on, based on the site need you can upgrade the plan. Click on “Get Started” button under the StartUp Plan.
You will be redirected to the Domain section. If you have not acquired any domain you can register the new domain at just $15.95/year in this section. Just enter the domain name and click on the “Proceed” button. If a domain name is available you will be redirected to the last step to make payment.
If you already acquired the domain you just need to enter your domain name and click the “Proceed” button to complete your payment.
In this last step you need to fill some basic information like Account information (email, password), Client information (Your personal details and address), payment information (Your credit card details to make a payment) and Purchase information.
Under the purchase information, there is a couple of option to choose. First is Plan, you can select StartUp. The second option is the data centre, choose the data centre that is near to your target audience. The third option is Period, choose 12 months.
After filling read the Terms of service and click on “Pay Now” to complete your purchase.
Step 3: How to Install Magento 2 on Server
Once you complete the purchase, You must receive the email about your login information. Using that please log in to your hosting account and go to My Account > Go to cPanel. Here you can see many shortcuts. Under “AUTOINSTALLER” click on Magento.
You will be redirected to the new page. On that page click on “Install Now”. One form will be visible where you need to choose some of the information related to Magento installation.
- Choose the version you want to install: Please select the first option as it is the latest Magento 2 version
- Choose Protocol: Please choose http://www. option
- Choose Domain: Please choose your domain
- In Directory: leave this field empty.
- Cron Jon: leave this field as it is.
- Admin Path: This is the part of your admin url. If you type “admin” and your domain name is www.codextblog.com then your Magento 2 admin url will be www.codextblog.com/admin. You can type any name like backoffic, myadmin etc. in this field
- Admin Username: Please enter username of your choice
- Admin password: Please enter strong password of your choice
- First Name, Last Name and Admin Email: Please enter appropriate information in these fields.
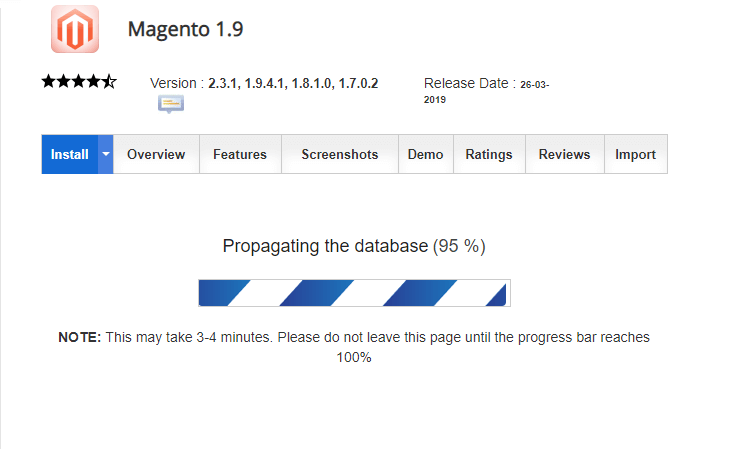
After filling all the above details, Please Click on the “Install” button. It will start installing Magento 2.
Once the installation is finished, It will display a success screen that contains the Magento 2 frontend URL and admin URL. You can log in into the admin using the username and password you have chosen.
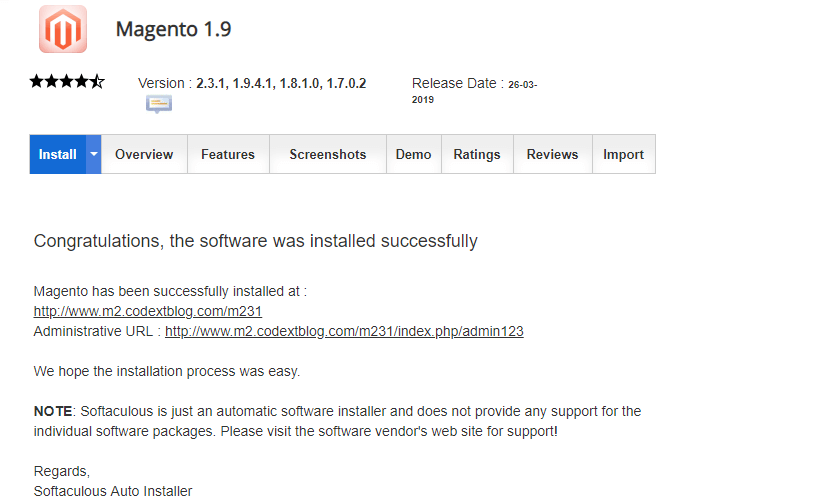
Hurray!! You have successfully installed your first Magento 2 E-commerce website. Now you are only a few steps away to configure it right.
To be continued…